How to pack a kitchen for moving: dishes, glasses, knives and the fridge
The kitchen is the slowest room to pack and the first one you need back. Pack it in the right order, protect the fragile things properly, and leave out just enough to keep eating.

The kitchen is the room that ruins packing schedules. It has more small, fragile, oddly shaped things per square foot than anywhere else in the house, and it is also the room you can't fully pack, because you still have to eat. The answer is order: shrink the pantry first, set aside a small kit to live on, pack the fragile things properly once, and leave the fridge for last. These ten steps follow that order. If you're still working out how many boxes to buy, start with how many moving boxes you need; the kitchen deserves its own line in that count.
Eat down the pantry and freezer two weeks out
Every can you open before moving day is a can you don't carry. Two weeks out, plan meals around what's in the freezer and the back of the pantry, and stop buying in bulk. Then decide what can't travel: full-service movers generally won't take fresh, refrigerated or frozen food (Atlas Van Lines lists it among the items it can't move without special arrangement), and if you're driving it yourself, the FDA's two-hour rule still applies to anything that needs refrigeration. Unopened shelf-stable food can be packed or donated.
Set aside a "last week" kitchen kit before you pack anything
Before the first box, pull out what you'll live on: one plate, bowl, mug and set of cutlery per person, one pan, one pot, a knife, a cutting board, a dish towel, dish soap and a sponge. Atlas's advice is the same: leave enough to comfortably cook and serve your family, and pack away the fine china, serving pieces and gadgets. This kit goes in a single box or bin on moving day, packed last and opened first.
Build the box before you wrap anything
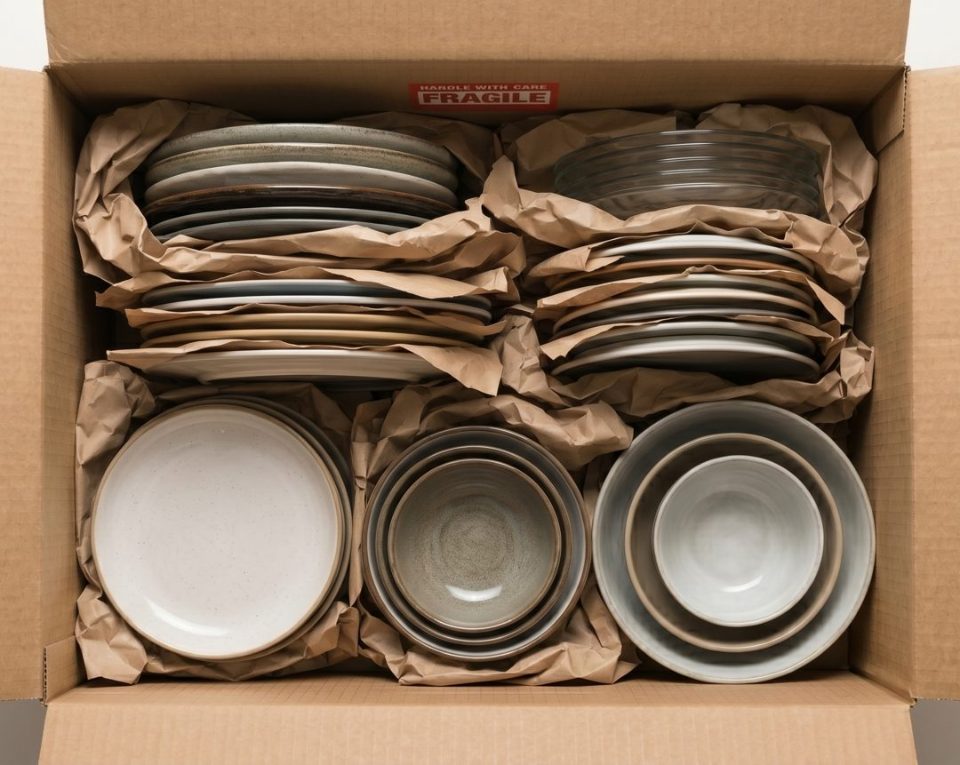
Dishes break from movement, not from the truck itself. Use small or medium boxes for anything heavy or fragile (a large box of plates is too heavy to carry safely), tape the bottom well, and line it with a thick layer of crumpled packing paper before the first dish goes in, which is Atlas's first step for dishware.
Wrap plates in threes and stand them on edge
Atlas's method is quick once you've done it twice: put a plate on a stack of packing paper and fold one corner over it, add a second plate and fold the next corner, add a third and fold the last two corners, then wrap the bundle in another sheet and tape it. Stand the bundles on edge in the box, like records, not flat in a stack, and fill every gap with crumpled paper so nothing can slide. Bowls nest in pairs with paper between them and also go in on edge. Dish towels between layers do the same job as paper, so use them.
Give every glass its own cell
Glasses fail at the rim and the stem, so they need separation, not just wrapping. A box with a cardboard cell divider is the easy answer; dish-pack kits such as U-Haul's Dish Saver pair a sturdy box with a cell divider and foam pouches sized for plates and glasses. Without one, stuff each glass loosely with paper, wrap it, and pack it upright with paper between. Stemware rides rim-up, with extra paper around the stem. Towels and clean socks make good padding, as Atlas suggests.
Sheathe knives and anything sharp
A knife loose in a box is a hazard for whoever unpacks it. Put each blade in its own guard or wrap it in a folded piece of cardboard taped shut, then wrap the bundle in a towel. Knife blocks travel with the knives removed. Do the same with graters, mandolines, food-processor blades and skewers, and write "SHARP" on the wrapped bundle, not just on the box.
Pack small appliances clean, dry and with their parts
Empty, clean and dry every appliance before it's boxed: crumbs in a toaster and water in a coffee maker turn into mold in a sealed box. Tape lids and carafes or wrap them separately, wind and tape the cord to the body, and put small parts (blender blades, mixer attachments, the coffee scoop) in a zip bag taped to the appliance. Original boxes are perfect if you kept them. The coffee maker and kettle go in the kit from step 2, not in a box.
Prepare the fridge and freezer the day before
The fridge needs more lead time than you think. GE Appliances' moving instructions say to turn the refrigerator off a couple of hours before moving so the evaporator can defrost, to tape or remove shelves, bins and ice trays, and to keep it upright in the truck. If it has to travel on its side (only some models allow that; French-door and bottom-freezer models must stay upright), stand it upright for as long as it was on its side before plugging it in, and for 24 hours if it was down more than a day.
Know what the truck can't carry
Many kitchen and under-sink items are hazardous materials in a moving truck. Atlas Van Lines' list of what it can't move includes aerosol cans, liquid bleach, cleaning solvents, lighter fluid, matches, propane tanks and household batteries, along with fresh and frozen food. The FMCSA's consumer booklet is explicit that federal law forbids shipping hazardous materials in your household goods boxes without telling your mover, and doing so can reduce the mover's liability. Use these up, give them away, or carry the allowed ones yourself in your own car.
Label for the counter, not just the room
"Kitchen" is half a label. Write the room and where it goes in the kitchen: "Kitchen: everyday dishes (upper left)," "Kitchen: pantry cans," "Kitchen: baking." Mark dish and glass boxes "FRAGILE" with an up arrow on the sides, and keep heavy boxes small; NIOSH puts the maximum two-handed lift under ideal conditions at 51 pounds, and a box of plates gets there fast. Our labeling guide covers the full system.
How MoveBuddy helps you pack the kitchen
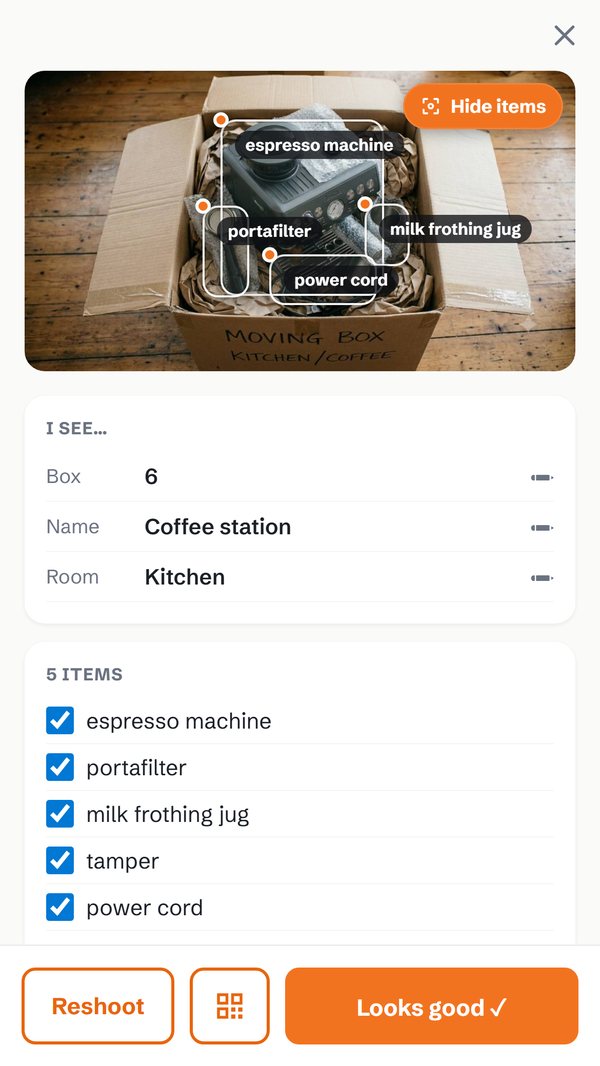
- Snap instead of listing. Photograph an open box and the AI drafts the item list; confirm it and tape the box.
- Add the small parts by voice. "Add the mixer attachments to box 14" while your hands are full of paper.
- Every box has a room. Number and room on every box, with the kitchen's boxes grouped together.
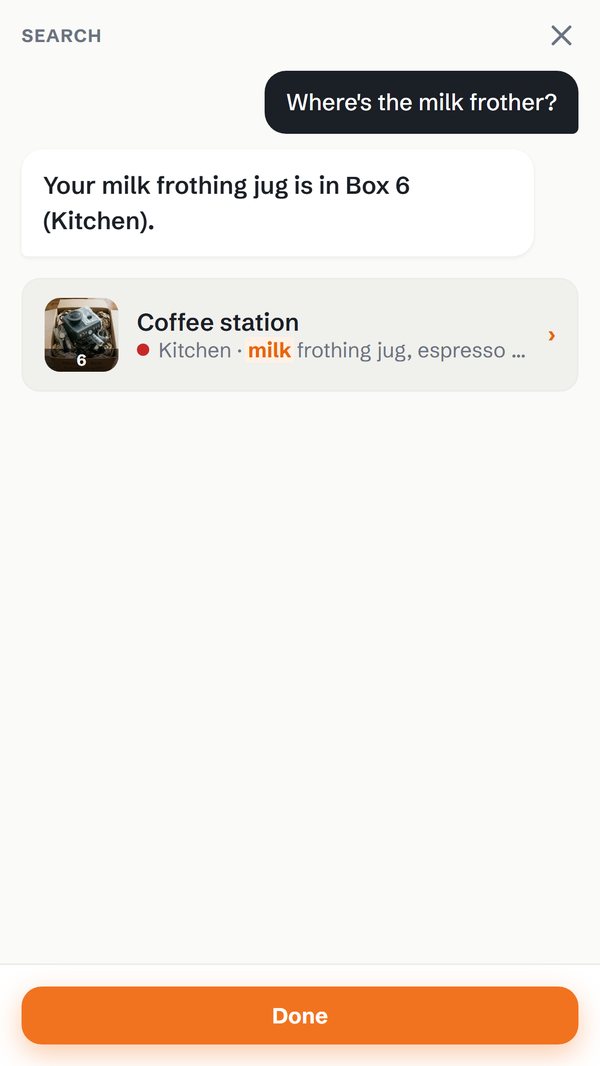
- Ask on the other end. "Where's the can opener?" gets the box number and room.
Free to start on iPhone and Android: your first boxes and AI snaps are on us, and you only pick a move pack when the real packing begins.
The kitchen packing checklist
Print it, stick it on the bin, tick it off. One page.
- Pantry and freezer eaten down starting two weeks out
- Fresh and frozen food plan made (eat, donate, or carry yourself)
- Last-week kitchen kit set aside: plate, bowl, mug and cutlery per person, one pan, one pot, knife, board, soap
- Small or medium boxes, bottoms taped, lined with crumpled paper
- Plates wrapped in threes and packed on edge; gaps filled
- Glasses in cell dividers or individually wrapped and upright
- Every blade guarded or wrapped in cardboard and labeled "SHARP"
- Small appliances emptied, cleaned, dried; cords taped; parts bagged with them
- Fridge off a couple of hours early, shelves secured, kept upright where possible
- Aerosols, bleach, solvents, lighter fluid, matches, propane and batteries kept off the truck
- Boxes labeled with room and spot ("upper left"), fragile and up arrows on the sides
- Every box light enough to lift comfortably
From “How to pack a kitchen for moving: dishes, glasses, knives and the fridge” — https://movebuddy-ai.com/blog/how-to-pack-a-kitchen-for-moving · MoveBuddy AI
Questions people ask
What is the best way to pack dishes for moving?
Wrap plates in bundles of three in packing paper, stand the bundles on edge in a small or medium box lined with crumpled paper, and fill every gap so nothing moves. Bowls nest in pairs with paper between them.
How do you pack glasses without breaking them?
Give each glass its own space: a box with a cell divider is easiest. Otherwise, stuff each glass with paper, wrap it, pack it upright, and put paper or towels between glasses. Stemware goes rim-up with extra padding around the stem.
When should I start packing the kitchen?
Start eating down the pantry and freezer about two weeks out, pack rarely used items (serving pieces, special-occasion dishes, gadgets) next, and leave a small daily kit and the fridge for the last day or two.
What kitchen items can't movers take?
Movers generally won't carry hazardous materials such as aerosol cans, bleach, cleaning solvents, lighter fluid, matches and propane, and most won't take fresh or frozen food. Ask your mover for its list, and tell them about anything hazardous; federal law requires it.
How long should a fridge sit before plugging it in after a move?
If it stayed upright, follow the maker's instructions. If it had to travel on its side, GE Appliances says to stand it upright for as long as it was on its side, and for 24 hours if it was down more than a day.
Sources & further reading
- Atlas Van Lines, Packing Tips Guide: line the box with crumpled paper, wrap plates in threes and store them on edge, use towels as padding, leave enough out to cook and serve.
- Atlas Van Lines, What Movers Won't Move: household hazardous materials and perishable food it can't carry.
- Federal Motor Carrier Safety Administration, Your Rights and Responsibilities When You Move: federal law forbids shipping hazardous materials in household goods boxes without informing your mover.
- U.S. Food and Drug Administration, Are You Storing Food Safely?: the two-hour rule; refrigerator at or below 40°F, freezer at 0°F.
- GE Appliances, Refrigerator: Moving Instructions: defrost before moving, secure loose parts, keep upright, stand time after travel on its side.
- U-Haul, Dish Saver Packing Kit: dish box with a cell divider and foam pouches.
- NIOSH and Cal/OSHA, Ergonomic Guidelines for Manual Material Handling: 51 pounds as the maximum two-handed lift under ideal conditions.
Keep reading
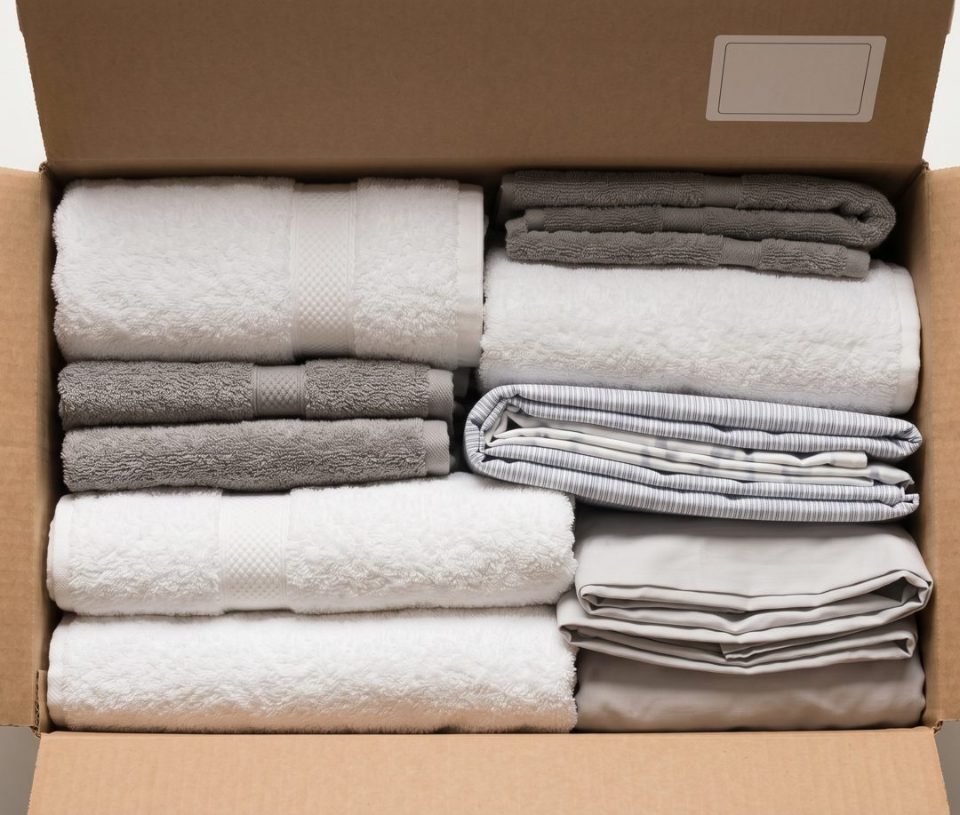
10 packing hacks for moving that actually save time
Not a hundred clever tricks, ten habits that pay off twice: once when you tape the box, and again on the other end when you need something out of it.
How many moving boxes do I need? Counts by home size
Start from a published estimate for your home size, get the mix of sizes right, then adjust for books, kitchens and how much you own. Here is how to do it without running out at 11 p.m.
How to label moving boxes so anyone can unload them
A label has two readers: the person carrying the box, who needs a room, and you in three weeks, who need to know what is inside. Write for both.
The 6-week moving checklist that actually works
No 200-item spreadsheet: what matters each week, from booking the truck to the first-night box, plus the one habit that makes unpacking painless.